DIY wall art
I made this piece of art for our living room the other week. It's pretty random how it came together, but I thought I would share how I did it in case any one else feels the desire to replicate!
It started with my husband, Ben, and I going to Lowe's and seeing these 3 pieces of perfectly cut wood in their trash bin in the back of the store. Now who would anyone want to throw something like that away?! Beats me.
So we asked if we could have them and they said yes!
I decided I liked the idea of using all three wood scraps together, but wanted to space them out so the overall finished product would fill in the wall more.

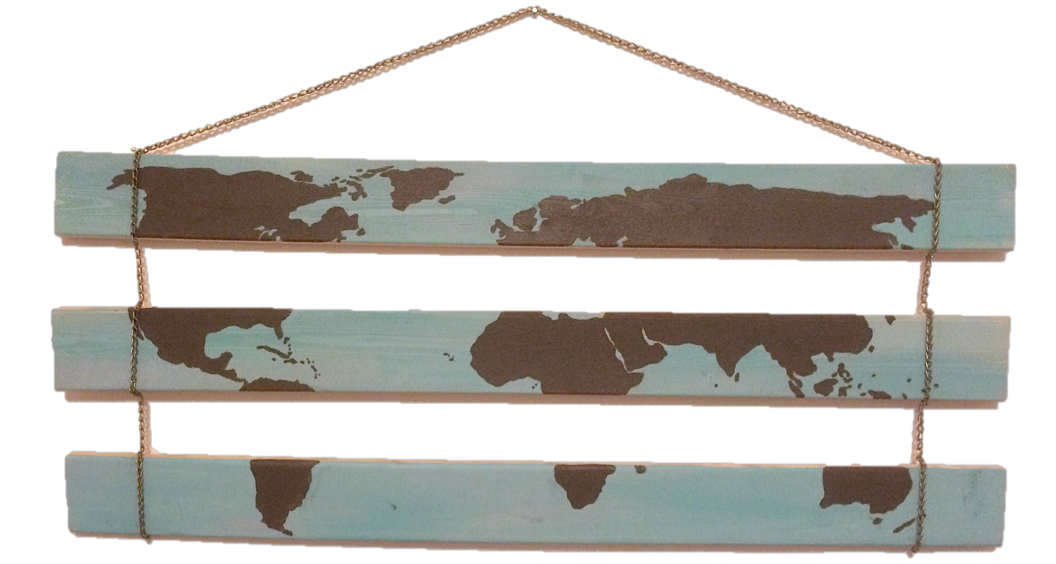
I took the 3 pieces of wood and double-sided foam taped them to this white poster board- just so they would stay uniform distance apart from each other while I painted them. I did a mixture of turquoise blue and seafoam green as the backdrop. You can't see the two colors separately very well like I had planned, but it still works.

I let that dry and then hand drew an outline of the map of the world. I just google imaged "world map outline" and a ton of options came up. This sort of thing comes easy for me, but if it's harder for you you could try something like transfer paper or even a projector.

Then I just filled inside the lines with beautiful... Brown. Ha. I liked the contrast of the brown against the blue, but whatever strikes your fancy.

Ben went to a hardware store and found this cute bronzish chain to hold it all together. I had to put a nail at the top and bottom of each board where the chain hit. So, I used a total of 12 nails to secure the chain. This was a pain. But check out the finished product!


MAKE ME ONE. PLEASE PLEASE PLEASE! I'LL PAY YOU.
ReplyDeleteBut, instead of the difficult chain, maybe thick twine or laundry line? YES. I'm just dreaming. K BYE.
ReplyDelete